

P-touch Editor: Label Design Software
Have you ever had to print labels for your business or around the home? Maybe you need to mark inventory with a barcode or identify packages that are ready for shipping. Whatever the reason, if labelling is part of your operations, you depend on a quality label printer. You also rely on durable labels that get the job done.
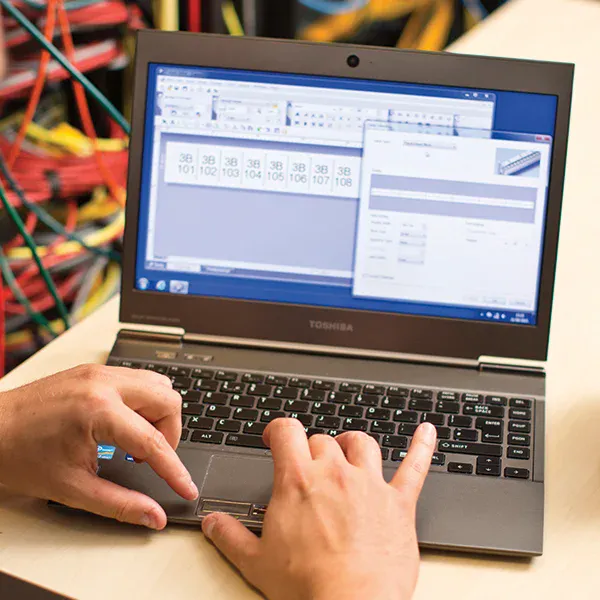
But what about designing your labels? That's where Brother P-touch Editor comes into the picture, allowing you to create barcodes, graphics and other information on your labels. Here, you'll find everything you need to know about P-touch Editor, including what it is, what this software can do, the features it has, and much more.
What is P-touch Editor?
P-touch Editor is an industry-leading label design software that can cater to almost every labelling need. Design labels for your home, in your office, at your store or even in your warehouse, P-touch Editor works for simple tasks right through to advanced labelling needs. Best of all, P-touch Editor comes bundled free of charge with selected Brother Label Printers.
So, whether you’re an office administrator looking to print shipping or signage labels directly from a database or you’re an IT manager needing to affix asset labels on devices, P-touch Editor is a one-stop shop for label design.
Check out the video below to see how P-touch Editor can streamline your labelling needs.
P-touch Editor Applications
Businesses worldwide across a range of industries rely on P-touch Editor. Here are some common examples of what you can use this label design software for:
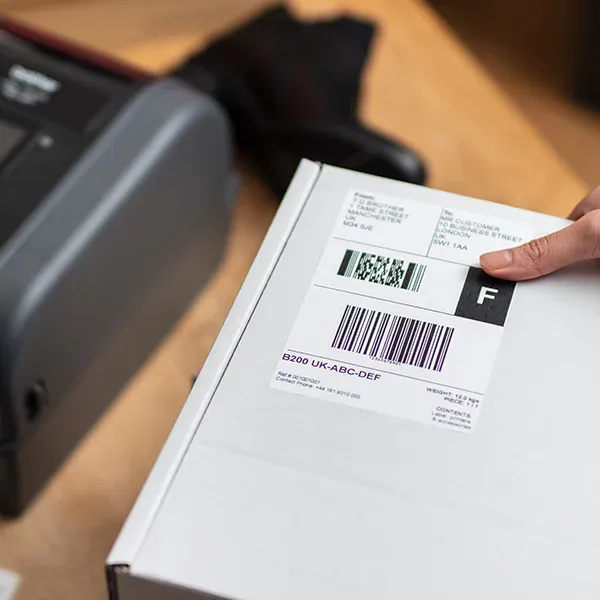
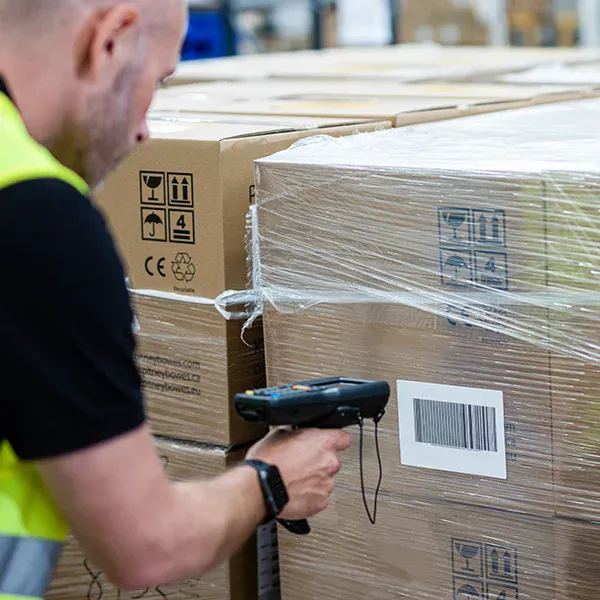
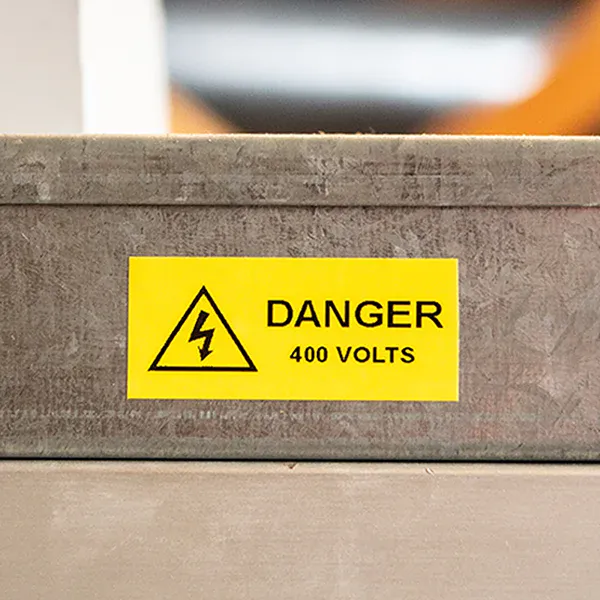
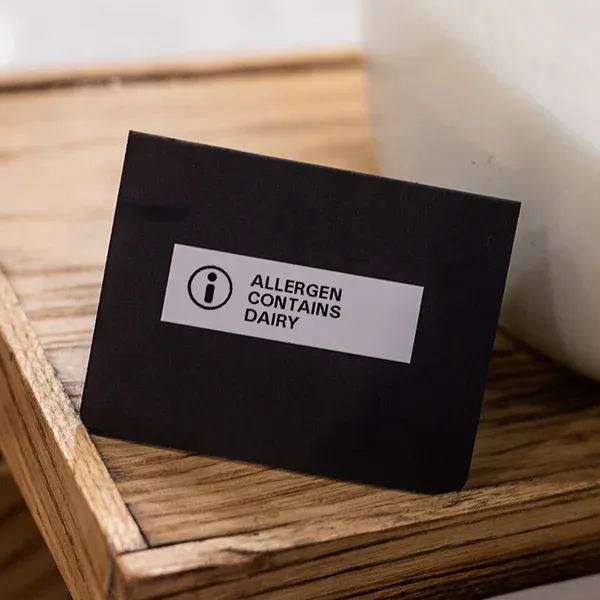
Some of the industries using P-touch Editor include food manufacturers, hospitals, pharmacies, retailers, and warehouses.
P-touch Editor Features
Brother Label Printers compatible with P-touch Editor can create and customise labels with a wide range of fonts, graphics and barcode options. The software also includes various templates for quickly designing labels for common applications like labelling file folders in the home or office. P-touch Editor also comes with several other helpful features, more of which you can explore below.
-
Custom Template Creation
Printed or saved templates are available in the P-touch Library and are saved automatically. When data is exported, these layouts can be shared among members. Here are some of the images, drawings, frames and tables available:
- Screen capture: Import a desired area on the Windows desktop (display screen) as an image
- Import image: Import JPEG, GIF, BMP, and PNG image files
- Clip art gallery: Some Clip Art, Make Picture, and Symbol contents are provided
- Draw drawings: Draw lines, curves, boxes, rounded boxes, ellipses, and polygons
- Frame: There are a variety of frames to choose, from simple to decorative
- Table: Create and fill tables with text, drawings, or bar codes
-
Database Connection
A standout feature of P-touch Editor on Windows is its capability for you to print from TXT and CSV files, as well as Microsoft Excel (xls) files, Microsoft Access (mdb) files, and SQL Server MSDE. The software also supports xlsx and xlsm on Windows. On Mac OS, P-touch Editor can only connect to CSV files.
The key benefit of this feature allows you to print out selected fields from a database that have been formatted to fit onto a label. Rather than creating individual labels manually and then printing them, it has the ability for the data to be formatted to print on masse.
Check out how easy it is to print labels from a database by watching the video below.
-
Custom Label Design
Say goodbye to confusing label creation software and design your own professional-looking labels with ease. Get creative and make your own designs using the label templates available. Some of the ways you can design your own labels include:
- Layout templates: Simply by changing the text or image on a provided template, you can create sophisticatedly designed labels easily
- Calendar function: You can print a calendar of months
- P-touch Library: Printed or saved layouts are saved automatically for future use. When data is exported, layouts can be shared among members
-
Bar Code Support
Creating bar codes and QR codes has never been easier using Brother P-touch Editor. This includes two-dimensional bar codes such as PDF417 and QR codes capable of storing up to 7,000 characters on a single label. P-touch Editor allows you to format your labels, connect to a database and print bar codes directly from your smartphone, PC or Mac.
-
Auto Date and Time Stamping
To apply automatic date and time stamping, you’ll need to do the following (P-touch Editor 5.x for Windows):
- Open P-touch Editor
- Open the Date and Time Properties window by double-clicking the date/time object you wish to configure
- Click the Setup tab and check At Printing in the Date & Time group
- Configure the date format under Format (e.g. day, month and year)
- Click the OK button
-
Text Input and Edit
Want to know what characters and languages you can place on your labels? Here are the text input and edit capabilities you can expect with P-touch Editor:
- OpenType or TrueType outline fonts registered in Windows can be used. Characters in a large font size can be printed with smooth outlines
- Use of Unicode character code enable coexistence of European, Latin, Japanese, simplified Chinese, and Arabic characters on the same label
- Various text options for using small or free-length paper, including Free Size for arranging text in the desired size and Fixed Frame Size (Wrap) for arranging text in a limited space, are available
- The Arrange Text function allows you to arrange text along a circle or an arc
-
User Interface
The interface is user-friendly with a simple drag-n-drop label design space that’s tailored to both basic and advanced users, so anyone can conveniently create professional-quality labels. P-touch Editor 5 (Windows) has three user interface modes:
- Snap mode: This feature will allow you to print desired labels easily and at anytime
- Express mode: Provides a simple interface that navigates you to easy creation of labels containing text or drawings. In Express mode, necessary settings can be specified from property bars that change automatically according to the selected object (image, text, etc.)
- Professional mode: For creating templates or elaborately designed labels
There is also the What You See Is What You Get (WYSIWYG) Interface. This allows you to see the actual layout of your label as you design it, meaning there is no need to waste labels by checking to see if the design suits or even fits on the label.
Latest Compatible Label Printers
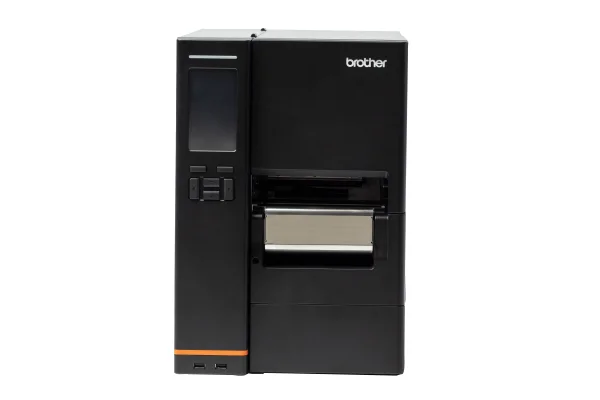
TJ Industrial Label Printers
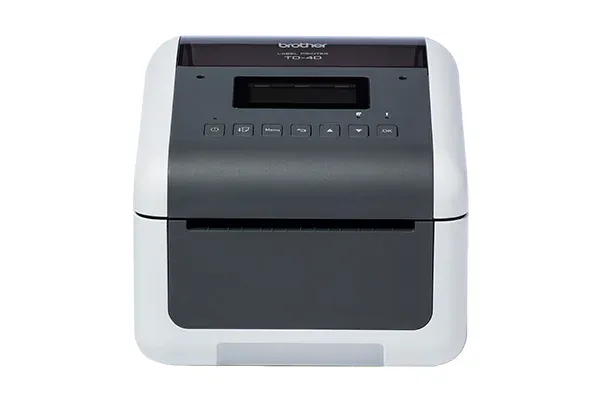
TD Thermal Label Printers

QL-1110NWB
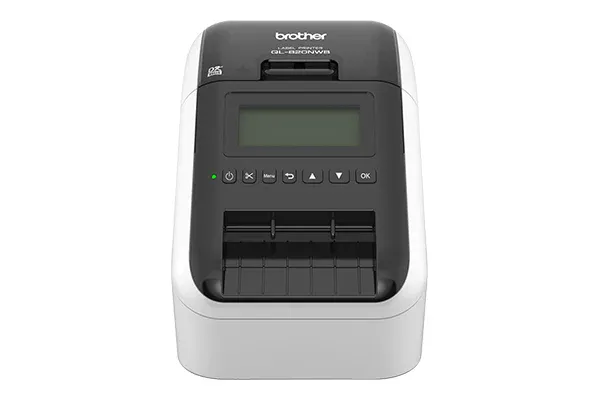
QL-820NWB
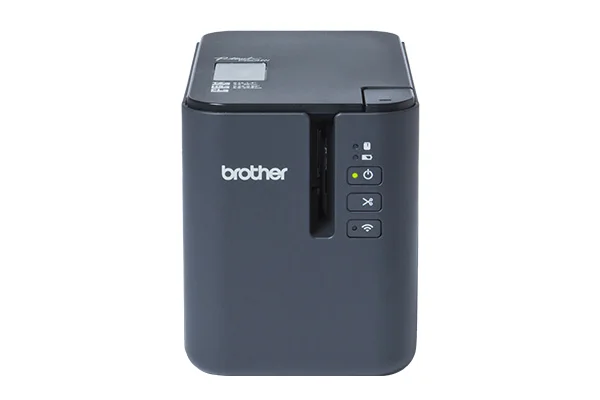
PT-P950NW
PT-P910BT
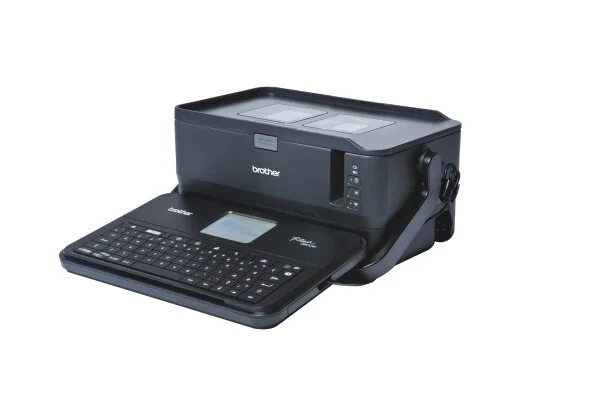
PT-D800W
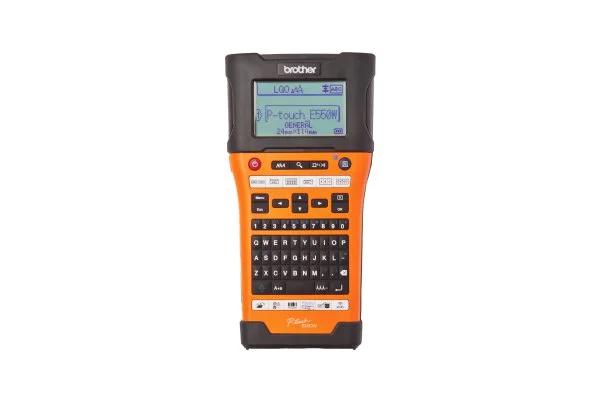
PT-E550WVP
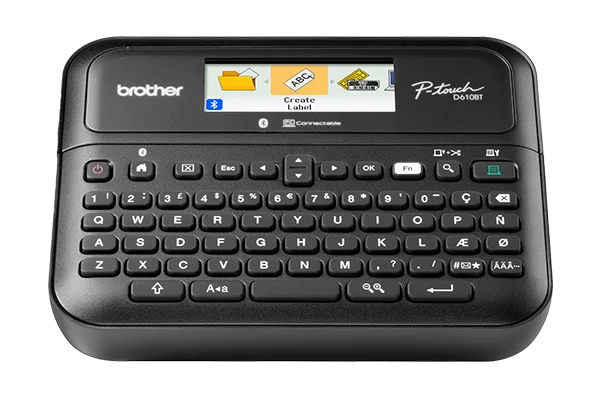
PT-D610BT
Depending on your label printer model, you can download the free P-touch Editor software for custom label templates, barcodes, graphics and other information on your labels. This includes select label printers from the P-touch range (PT-D, PT-P, PT-E), QL Series. TD-4 Series, TJ Series and VC Series. To find out if your Brother label printer supports P-touch Editor, follow the steps in the next section on how to download and install (below).
Run out of label rolls or tapes for your Brother P-touch label printer?
Find out where to buy Genuine Brother Supplies for your label printer here.
How to Download and Install P-touch Editor
You can download and install P-touch Editor from the Brother website. Here’s a step-by-step guide on what you’ll need to do to get started:
- Go to: https://support.brother.com/g/b/productsearch.aspx?c=au&lang=en
- Enter your model number and click Search button or select a Product Category P-touch (PT), the Model, and then click on the Go button
- Under Support & Downloads, click the Downloads button
- Ensure the correct Operating System (OS Family) and OS version is selected and then click on the Search button
- Under Editor Tool, click P-touch Editor 5.x link (Windows). For Mac OS users, click this link to download from the App Store
- Read the End-User License Agreement and then click Agree to the EULA and Download
- Enter the last 9 characters of the Serial Number, which can be found at the rear of the machine, and then click the Submit button
- Save and run the download file to install P-touch Editor
Now you’re ready to start creating professional-looking labels for all your organising needs.
P-touch Editor FAQs
While P-touch Editor is an exciting tool for label creation, you may still have some questions. Here are some of the most frequently asked questions about this Brother P-touch software, as provided by our Customer Care Team.
-
How do I print labels from a database using P-touch Editor?
With P-touch Editor, you can easily connect to your SQL database or Excel to print labels from a Brother Label Printer. Here’s how you can print labels from a database using P-touch Editor:
- Open P-touch Editor and click File, then select Database from the dropdown menu and click on Connect
- You can either browse to a database file or connect directly to your SQL Server
- If you have an SQL Database, enter your Server Name authentication details (User Name, Password, Database Name), then click Next
- Select the table you wish to connect
- Your database is now connected to P-touch Editor
- Select the data you wish to include in your label. You can also format the label by adding text, bar codes or QR codes
- Once you’ve finished formatting the label, click on Print at the top of the interface
- Repeat the above steps if you need to print from an Excel spreadsheet
-
How to create QR codes with P-touch Editor software
Creating QR codes with P-Touch Editor is a simple process. Follow the steps below to see how easy it is to create QR codes using our label printer software, Brother P-touch Editor:
- Open your web browser (e.g. Google, Microsoft Edge), and enter the URL you want to link the QR code to, then highlight and copy the URL address
- Open the Brother P-touch Editor where you’ll be taken to the default user interface. This where you can start creating your QR code
- Click on New Layout or choose from one of the many templates (e.g. Address, Files, Signs, Visitor Badges, etc)
- Click on Insert and select Bar Code which will bring up the Bar Code Properties window
- Click on the Protocol tab, then scroll down through the list of Protocols and select QR Code
- Click on the Input tab where a text box will appear, then paste the URL you want to link the QR code to in the Data: text field, and click OK
- Now your QR code will appear in the editor where you can arrange its placement and size on the label. You can also add text and design the label to suit your needs
-
How do I print barcode labels with P-touch Editor?
How you print barcode labels will depend on what operating system (OS) you use – Windows or Mac. Follow these steps below to start printing barcodes:
Windows
- Open P-Touch Editor
- Click the Bar Code button. The Bar Code Properties window will appear
- Click the Protocol tab and select the type of barcode you’re looking to create
- Click the Input tab and, in the Data: text field, enter a value before clicking the OK button
- The barcode will be inserted in the layout window. Adjust the barcode placement and size on the label
- Click the Print button
Mac
Ver. 5.1
- Open P-Touch Editor
- Select Insert - Bar Code where a Bar Code window will appear
- Click the Protocol tab and select the type of barcode you’re looking to create
- Click the Input tab and enter the barcode data before clicking the OK button
- The barcode will be inserted in the layout window. Adjust the barcode placement and size on the label
- Click the Print button
Ver. 5.2
- Open P-Touch Editor
- Click Insert - Bar Code and then the barcode to create
- Click the Protocol tab and select the type of barcode you’re looking to create
- In the Data area, enter the barcode data and click the OK button
- The barcode will be inserted in the layout window. Adjust the barcode placement and size on the label
- Click the Print button
-
Are there any functions available in P-touch Editor 5.4 that are not available in P-touch Editor 6 for Windows?
The following functions are not yet available in P-Touch Editor 6:
- Transfer Template: Transfer a template to the label printer
- Addition of supported models: Add other models to P-touch Editor 6, except for PT-D410, PT-D460BT and PT-D610BT
- Software Information Scan: Get various version information
- Sheet: Register multiple layouts in one file
- Alignment Guides: Alignment guides to help you position objects
- Combined Characters: Put horizontal text in a vertical field
- Joined Field from Database: Concatenate fields of database into a single field
- Link Object: Link the data of one object to another object
Until these functions become available in P-Touch Editor 6.x, download and use P-Touch Editor 5.4.
-
What languages does P-touch Editor support?
- Arabic
- Italian
- Chinese (Simplified)
- Japanese
- Chinese (Traditional)
- Korean
- Czech
- Norwegian
- Danish
- Polish
- Dutch
- Portuguese (Brazil)
- English (UK)
- Portuguese (Portugal)
- English (US)
- Russian
- Finnish
- Spanish (Spain)
- French (Canada)
- Spanish (US)
- French (France)
- Swedish
- German
- Thai
- Hebrew
- Turkish
- Hungarian
- Vietnamese